Fixing Strobing Refrigerator LED Lights
15th Jul 2021
 LED lights offer a lot of advantages over traditional incandescent bulbs. They are more energy efficient and produce less heat without hindering their brightness. So, it makes sense that appliance manufacturers are using LEDs more and more in their appliances.
That said, there are some common problems that have been associated with these newer LED light models in some refrigerators. Many people are reporting these lights going out, flickering, or strobing sometimes within months of purchasing their fridge. Normally replacing a light would seem like a simple no-brainer: the bulb goes out, you replace it, problem solved. However, when these LEDs are used in a circuit the problem and solution are not always so obvious. Like Christmas tree lights, one defective LED light in a circuit can cause issues with the whole strand. This makes it more difficult to determine which or how many lights need replaced.
Below are the most common symptoms our customers have reported and how to determine which LED light or lights should be replaced.
Symptom 1: One LED light is out and others are dim / flickering / strobing.
- Start with replacing the LED that is out. If the other affected lights are in the same circuit as the LED module that is out, they will likely be fixed once the new LED is installed.
Symptom 2: All lights are strobing / flickering / out.

In these light circuits there is one main LED board / module that takes the power and converts / sends it to the other light modules in the circuit. Typically, this will be the light module located at the top of the fresh food section. The other lights in the circuit are referred to as slave or secondary lights.
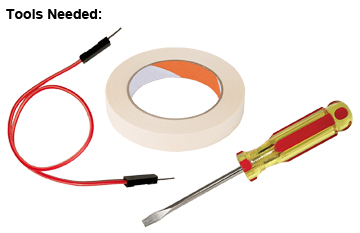
This diagnostic technique uses the process of elimination, testing the secondary lights one by one to determine which light or lights need replaced. To perform this diagnostic you will need a small jumper wire, tape and a flat head screwdriver or putty knife to help with removing the light modules.
We suggest starting with the LED lights in the freezer section, since those are commonly the first to fail.
- Find the freezer door switch and tape it down.
- Locate and disconnect the freezer LED module, being careful to use the disconnect tabs on the plug and not yanking the module free. Yanking the plug out will elongate/damage the pin connectors on the module, making it defective.
- Use a jumper wire in place of the removed module to complete the circuit. If the other lights in the circuit start working normally, then the disconnected module should be replaced. If the problem persists, reconnect the module and move on to the next module in the circuit.
- When moving from the freezer section to the fresh food section, remove the tape from the freezer door switch. Then locate and tape down the fresh food door switch.
- Continue testing the secondary modules in the circuit to determine if any of them are defective. If you have tested each of the secondary LEDs and none of them appeared to be defective then the main LED module is the one that should be replaced.
 |  |  |
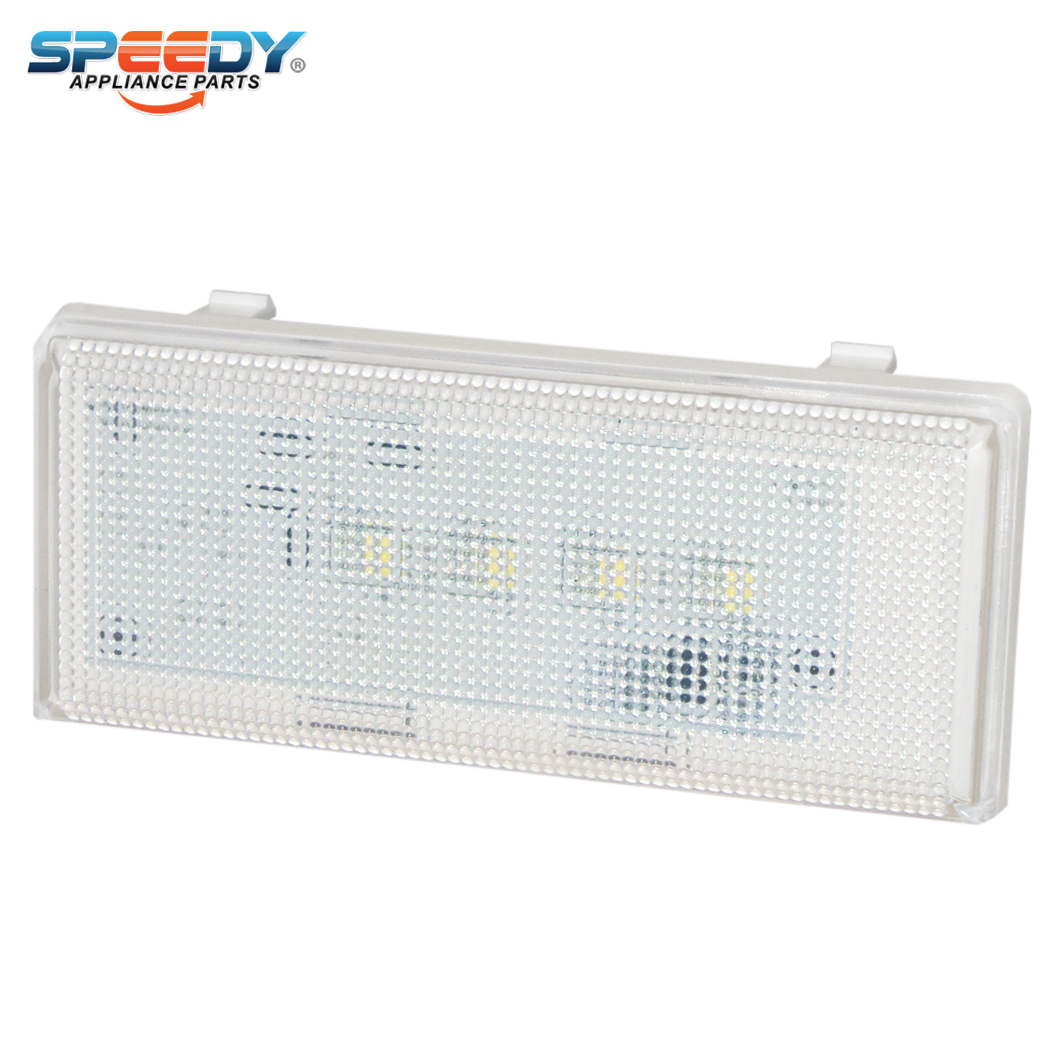
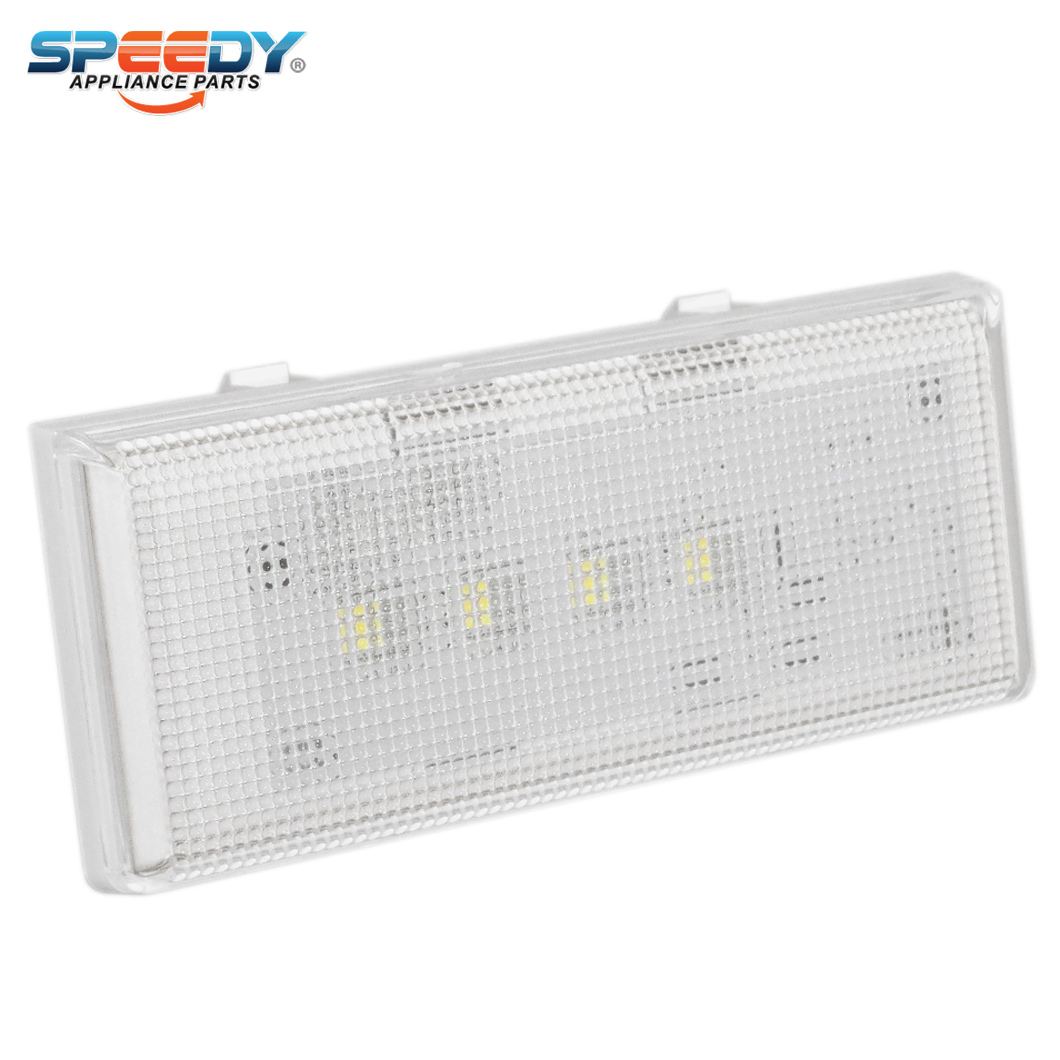
| W10515058 Whirlpool LED Light Replacement | W10515057 Whirlpool LED Light Replacement | W11104452 Whirlpool LED Light Replacement |
